3D printing generative art with P5.js and Blender
Over the holidays I bought myself an Ender 3 V2 3D printer. I've been wanting a 3D printer for a long time, and with holiday sales, the price came down to a reasonable level. I've been making a lot of generative art for #genuary2022, and thought it would be cool to try to 3D print a piece. To do this, I needed to use P5.js to generate an artwork to print, Inkscape to create an SVG, Blender to create an STL file, and Cura to create a Gcode file for the printer. The following instructions assume proficiency in all of these programs.
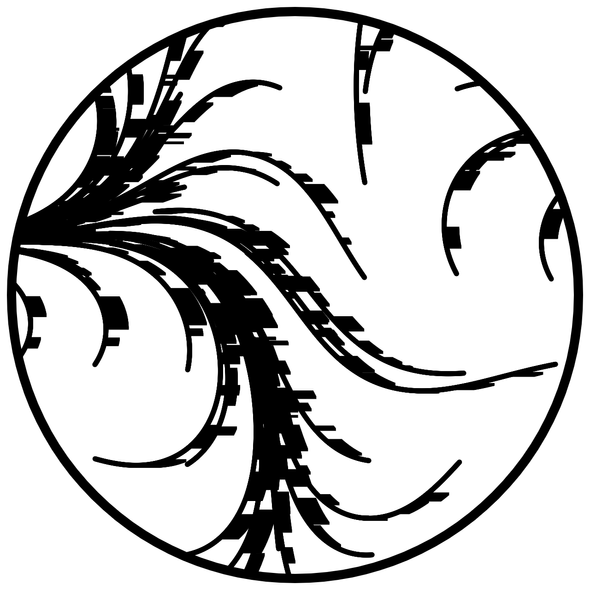
First, I had to create a piece of 2D art with P5.js. I needed to make sure that the piece was black and white and all connected, so it could print as one piece. It's an offshoot of an earlier piece, which used flow fields and rectangles to create a chunky "confetti" effect. By connecting those rectangles with lines that are thick enough to print, I was able to come up with a design that could be turned into a 3D print.
let c,
    bg,
    font,
    size = 10,
    max = 800,
    palette,
    points = [],
    lines = {};

const scale = 200;
const smooth = 0.0008;

function setup() {
    createCanvas(1280, 1280);
    c = "#000000";
    bg = color("#ffffff");
    background(bg);
    noiseDetail(1);
    angleMode(DEGREES);

    let num = 0;
    for (let y = 0; y < height; y += scale) {
        for (let x = 0; x < width; x += scale) {
            let p = createVector(x + random(-10, 10), y + random(-10, 10));
            lines[num] = [p];
            points.push(p);
            num++;
        }
    }

    for (let n = 0; n < max; n++) {
        for (let i = 0 ; i < points.length; i++) {
            let angle = map(noise(points[i].x * smooth, points[i].y * smooth), 0, 1, 0, 1080);
            let p = points[i].add(createVector(cos(angle), sin(angle)));
            lines[i].push(createVector(p.x, p.y));
        }
    }
}

function draw() {
    noFill();
    strokeWeight(1);

    for (let o of Object.values(lines)) {
        stroke(c);
        fill(c);
        let str = random(5, 50);
        let on = true;
        let rand = 20;
        for (let i = 0; i < o.length; i++) {
            if (i % rand === 0) {
                rand = floor(random(50, 100));
                on = !on;
                str = random(20, 50);
            }
            if (on) {
                rect(o[i].x, o[i].y, str, 5);
            }
            circle(o[i].x, o[i].y, 10);
        }
    }

    fill(bg);
    noStroke();

    beginShape();
    vertex(0, 0);
    vertex(width, 0);
    vertex(width, height);
    vertex(0, height);

    angleMode(RADIANS);
    beginContour();
    for (let n = 0; n < TWO_PI; n += TWO_PI / 100) {
        let r = 612;
        let x = sin(n) * r;
        let y = cos(n) * r;
        vertex(x + width / 2, y + height / 2);
    }
    endContour();
    endShape(CLOSE);

    noFill();
    stroke(c);
    strokeWeight(20);
    circle(width / 2, height / 2, width - 50, height - 50);

    noLoop();
}
After refreshing the page a few times, I got a design that I really liked, that looked very organic and plant-like. I right clicked on the canvas and saved the image as a PNG.
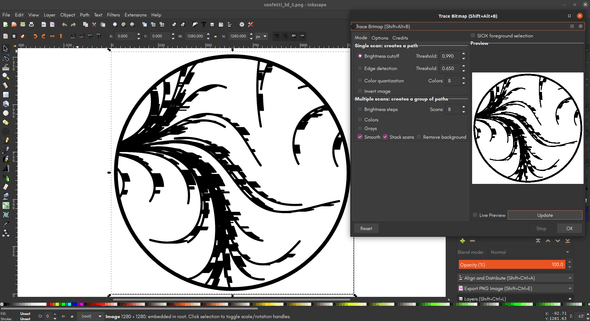
Next, I had to fire up Inkscape and create an SVG, which I'll then import into Blender. This is why I needed a black and white piece of art, so I could automatically trace the outlines. I used the Trace Bitmap command with a single scan and brightness cutoff pushed up to 0.990, to get the thickest lines possible. After creating the path with the scan, I then deleted the background image and saved the file as an SVG.
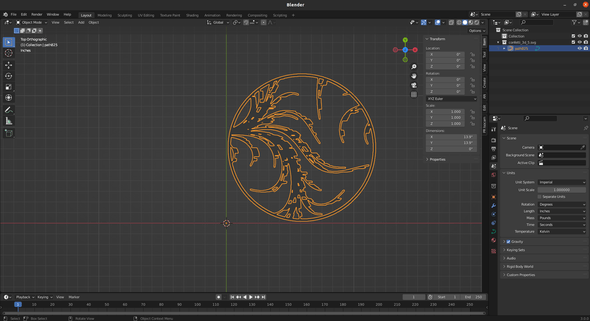
Then, I opened up Blender, deleted everything from the default scene, and changed the view to Top. Before importing the SVG, I went to the scene settings and changed the units to Imperial/Inches. You can also use Metric/Millimeters or /Centimeters, but inches are more familiar to me. Later, when the 3D model is imported to Cura, it will be displayed in mm.
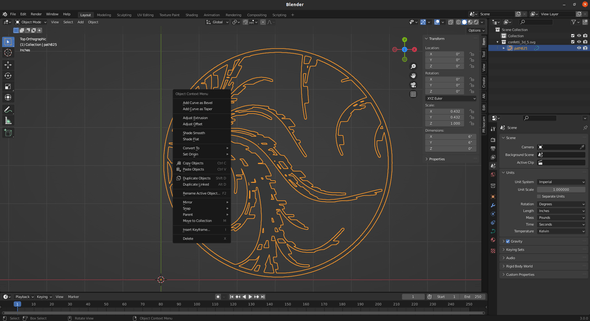
Then, I went to File -> Import -> SVG and imported my SVG file. It should appear as one continuous path, and the formerly black parts of the design should be filled in with a light grey. I opened up the item menu in the upper right-hand corner and at the bottom, it showed that the dimensions were 13.9" by 13.9" by 0". I'll resize the x and y dimensions so they're both 6" instead.
Then, I right clicked with the object selected, and transformed the curve to a mesh with Convert To -> Mesh.
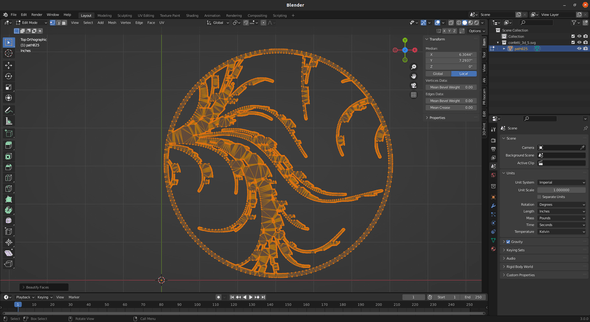
Then, I went into edit mode, selected all vertices, and selected Face -> Beautify Faces, to reduce the number of faces in the model.
There were some spots in the model where there were small gaps in the design, and I wanted to remove those too-intricate details. I selected those areas and dissolved the vertices, so a face remained in its place. In hindsight, I probably could've also just added a face to the empty area.
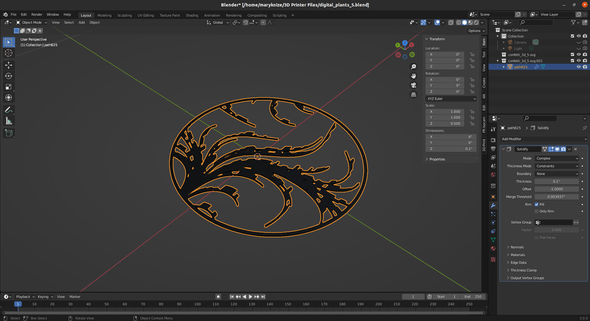
Finally, before I can send the file off to the printer, I have to give it some depth to print. I added a complex solidify modifier and made the thickness 0.1. The final dimensions of the mesh should be 6" by 6" by 0.1". Then, export an STL file through File -> Export -> STL, and the options should be: Transform scale 1.00, Y Forward, Z Up, and Geometry Apply Modifiers. (Or apply the modifier before exporting.)
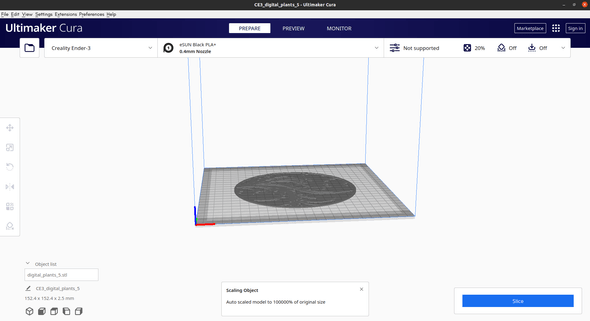
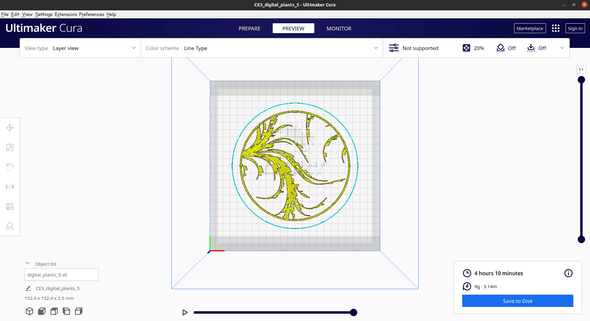
Once the STL is exported, it's ready to be imported into Cura. You'll see that the object was automatically scaled up, but by looking at the dimensions, it's still 6" by 6" by 0.1".
I have my 3D printer set to use eSUN PLA+, which defaults to a 0.1mm layer height and a hotter print temperature than normal PLA. I attempted an earlier print with regular PLA settings and a thicker layer height, which is faster but gave a much more stringy, less detailed print. These settings worked great for this print and this PLA+. After clicking the Slice button, I was given an estimate of 4 hours and 10 minutes of print time, which was accurate.
Finally, I could save the Gcode file to disk and load it onto my 3D printer.
I didn't do anything special to the print when it came to printing. I just loaded it up, preheated the bed and extruder, and let it get to work. The temps I ended up using were 210 for the nozzle, and 60 for the build plate.
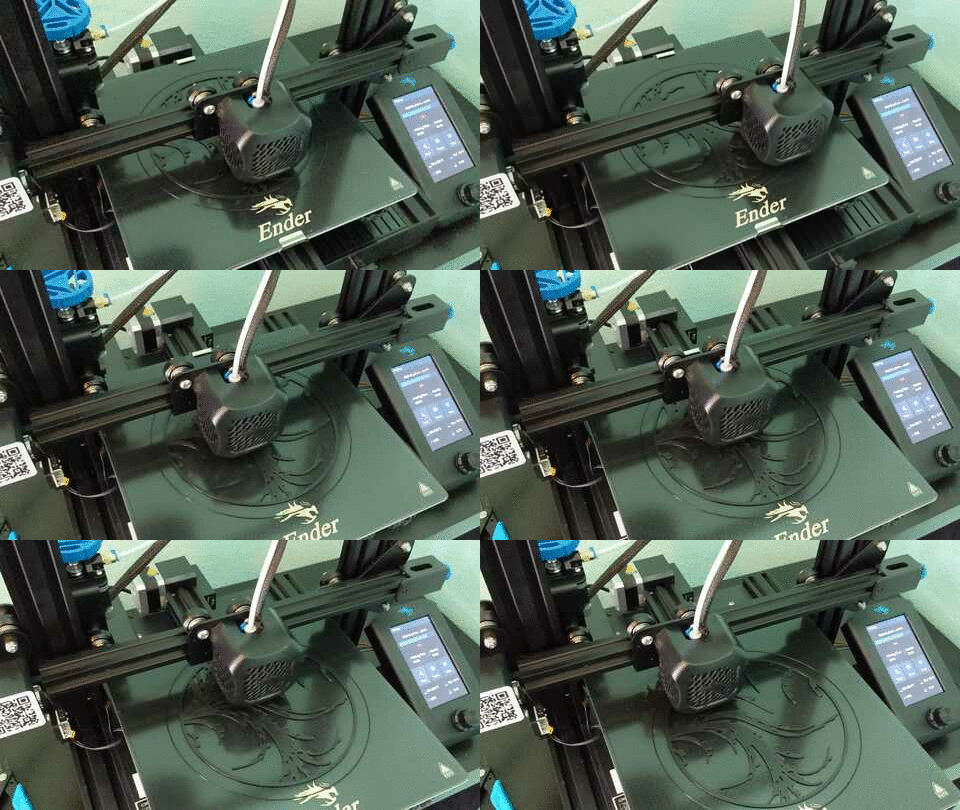
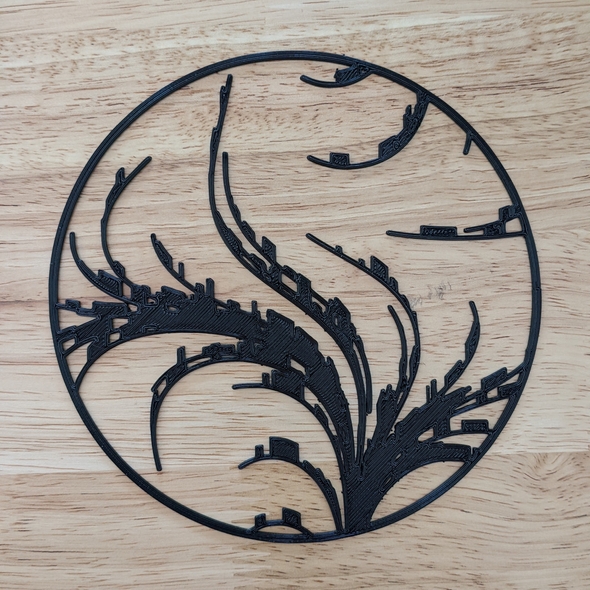
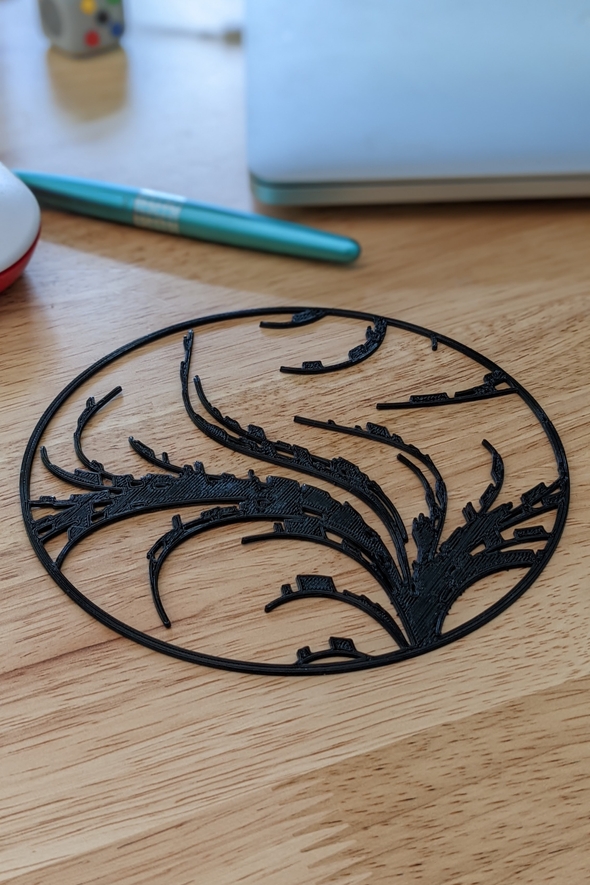
After it was all done, I let the print bed cool down completely, then carefully peeled the finished print off. It turned out great, with only a few strings and rough edges.
In the future, I think I'd like to try making another 3D printed piece like this, a little bit taller, with a hanging loop, and fill the interior with colored epoxy resin. I've never worked with epoxy resin before, but I think it would create a beautiful suncatcher.
