Kitbashing and 3D printing George Washingtits (NSFW)
Warning: This post contains pictures of some very silly 3D-printed NSFW content.
My husband is a co-host of a very long-running, niche podcast. One of their recent running jokes is that AI is unable to create an image of George Washington with a female torso.
"Well, you guys, I think we're ok with AI because I have signed up for four different AI generators and not a single one of them will make George Washington with tits."
"I mean, I found the Cindy Crawford picture from George magazine, but, I mean, that'll do..."
"It's all, this violates our community guidelines, oh, we don't like this language..."
Clip:
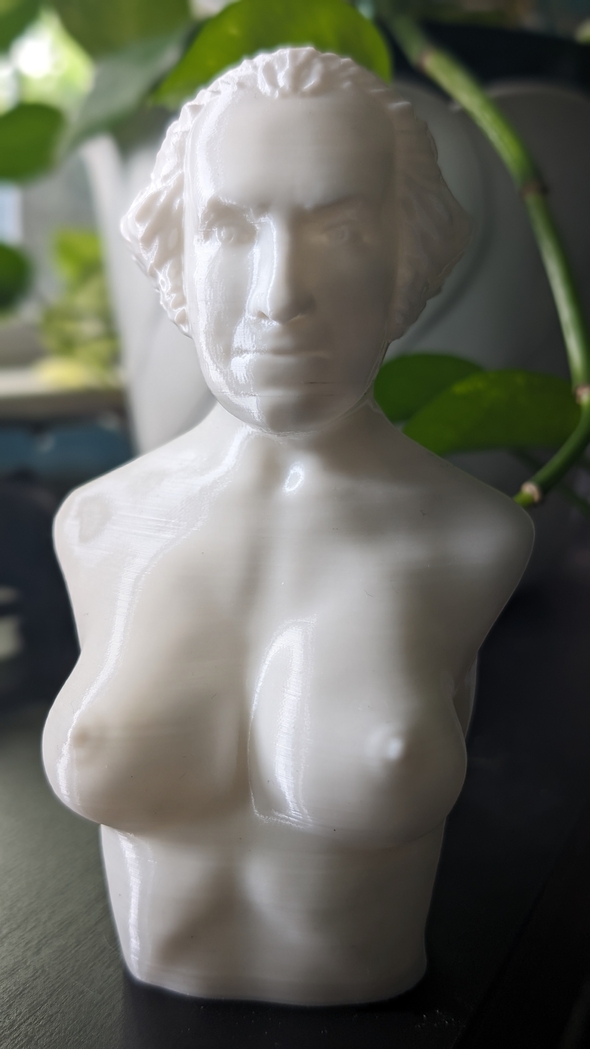
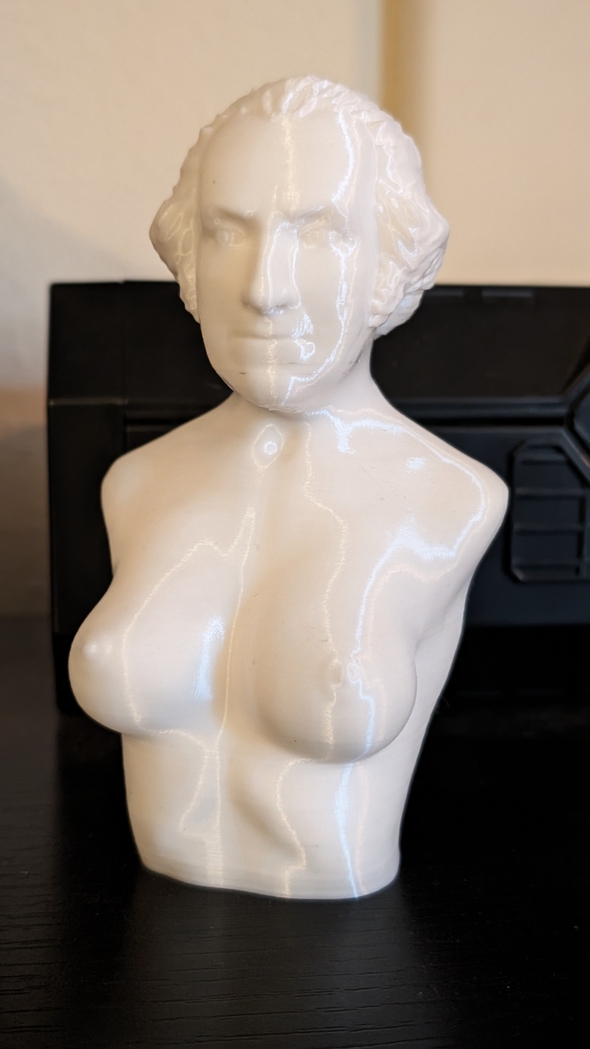
Because I love to make dreams come true, I decided to 3D print my artistic interpretation of what such a thing would look like. It might not be AI, but my version went over with the hosts very well.
Meet George Washingtits. Here's how I created him.
Finding existing sculpts
I'm a longtime user of Blender, but I don't really consider myself a 3D artist. I especially don't think I could accurately 3D model George Washington's head. I decided to take a look online and see if I could kitbash together some sculpts made by more talented 3D artists.
Kitbashing is a term used in model making. It originated from the practice of taking pieces from different scale models to create a wholly new model. This was much faster than fabricating wholly new parts for a model. Maybe most famously, the original Star Wars movies used kitbashed models to create ships and vehicles.
Digital artists also perform kitbashing when taking bits and pieces from other 3D models. In this case, I'm looking for a head and a torso that I can combine. I found two great assets on Thingiverse. First is the Washington Bust by tychodin, which is just an amazing sculpt. The second is Woman Body (Vase-Mode) by BaOp066.
Importing into Blender
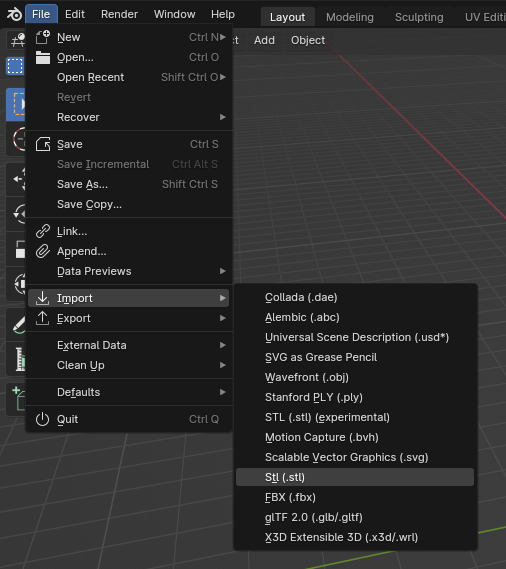
After saving both files, I imported the torso into Blender. This is found under File > Import > Stl.
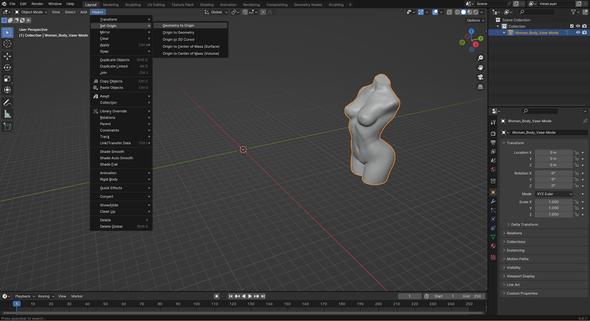
The mesh imports weirdly off-center, so I set the mesh at the origin with Object > Set Origin > Geometry to Origin.
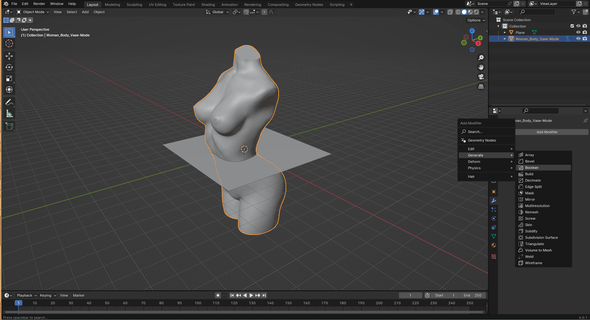
I want the torso to be cut at the waist, so I added a plane with Shift + A and resized it so it was bigger than the torso. This mesh has already been voxel remeshed, so it can be sliced with a boolean operation.
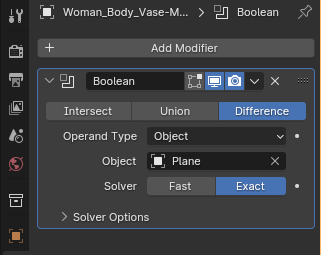
I added a boolean modifier and asked it for the difference between it and the plane.
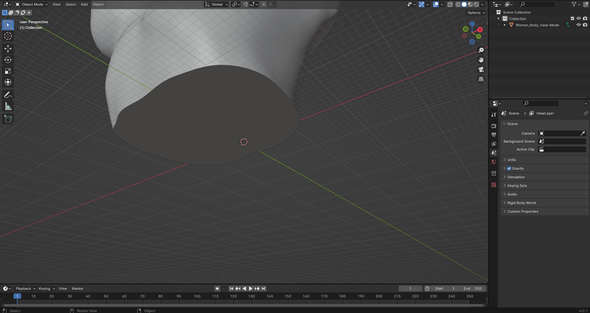
Once the operation has been applied with Ctrl + A, I deleted the plane. The torso is now smoothly cut at the waist.
The next step was to import the head. There are two Washington files. I used washington.stl. The head was imported much smaller than the torso. I resized the head so that it was a good size in relation to the torso.
The remainder of the George Washington bust must be removed. I'm using a boolean operation again, but this time I need to voxel remesh first.
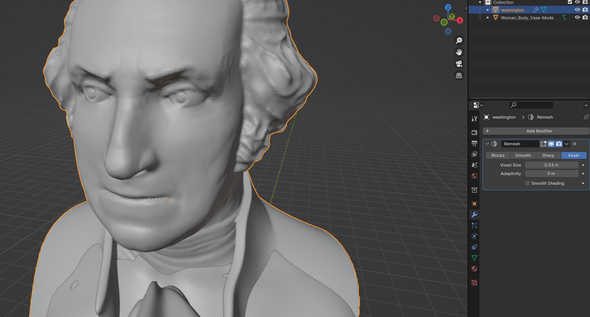
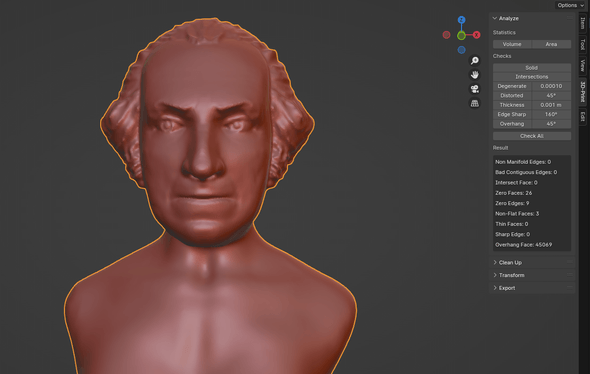
I added a voxel remesh modifier. The voxel size had to be adjusted so that detail isn't lost, but not so much that it crashed my computer. I used a value of 0.03.
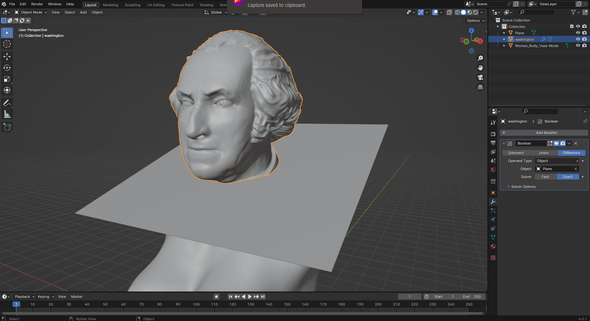
After applying the voxel remesh modifier, I added another plane, resized it, and positioned it where I wanted to cut the neck. Another boolean operation later, I had a separated head.
Joining and blending meshes
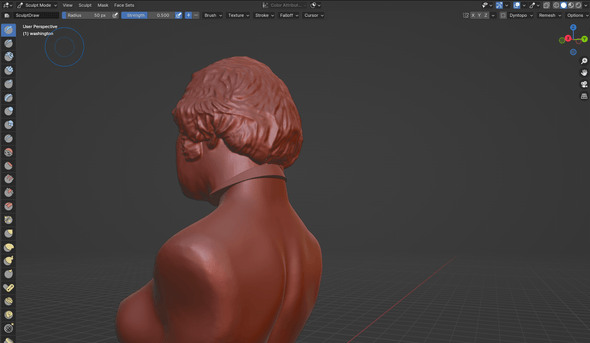
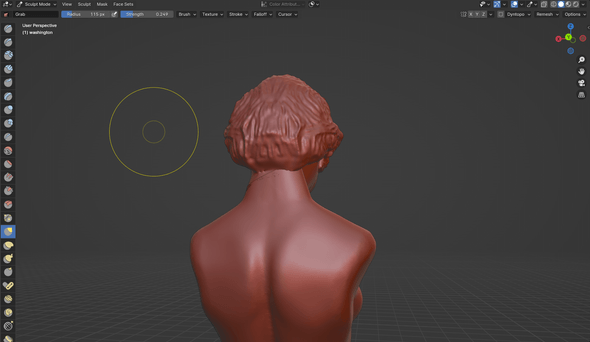
I positioned the head and torso so the pieces overlapped. Before joining the pieces, I needed to sculpt parts of the neck to get the pieces aligned, then I'll join them. Most of the sculpting was very simple here, just moving the mesh around with the grab tool. I also used the smooth tool to blend the two pieces together.
Before sculpting:
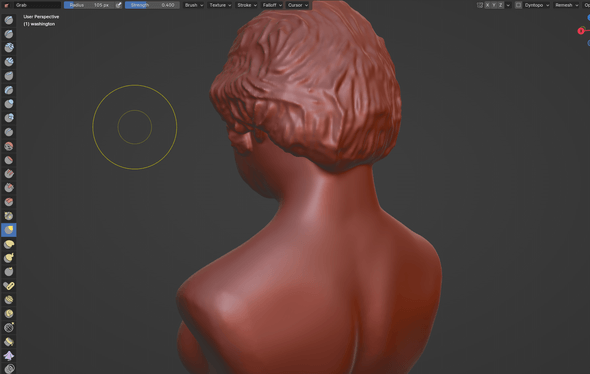
After sculpting:
I only sculpted the George Washington bust's neck. The neck of the torso is really nice, so I'm going to use the majority of that. The goal was to get as much of the remaining George Washington neck smoothed out and shrunk just below the surface of the torso's neck.
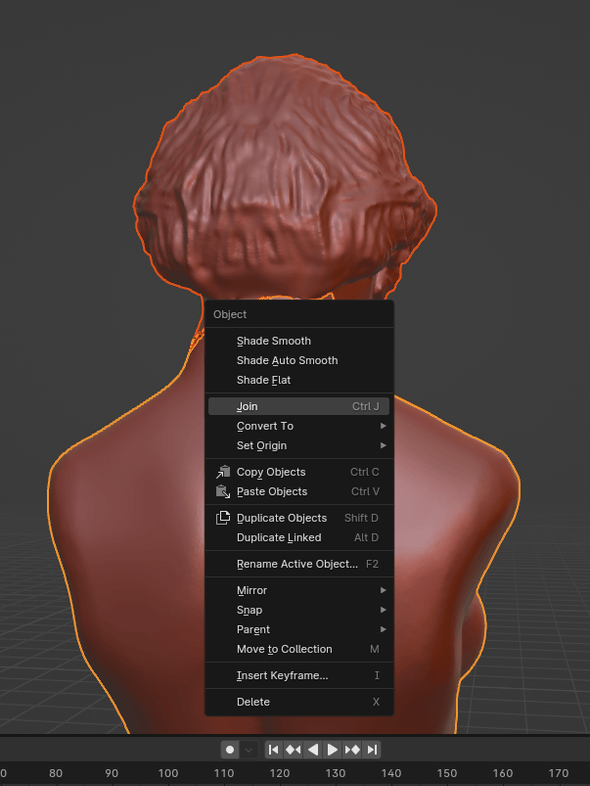
There's still a visible seam where the two necks join. Once I join the head and body together with Ctrl + J, I can smooth out that seam.
After joining the pieces, I remeshed the whole thing again. This way, all of the sculpting will affect the mesh as if it's all one piece of clay. I remeshed again with a voxel size of 0.03. I noticed that joining the torso to the head resulted in an easier remeshing and didn't crash my computer. Joining the head to the torso ended up with me having to force close the app. Save often!
After joining the pieces, I switched to sculpt mode. The join between the head and body needed just a little bit of smoothing. The smooth tool made this easy.
Export STL and import into Cura
Before exporting the finished mesh, I made sure that it is ok to 3D print. I used the 3D print plugin to check my mesh for non-manifold edges. The existence of non-manifold edges would mean that I had holes in my mesh. There is a button to fix this problem, but it can sometimes have unexpected effects.
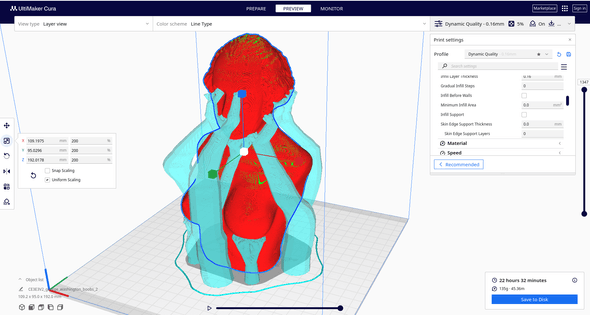
Once the 3D print scan came back clean, I exported the mesh as an STL with default settings. Then, I was able to import it into my slicer software. I use Ultimaker Cura.
Once the file was imported, I was able to adjust the size of the print using the scale tool. I printed the original at 150%, but I now want to print a second at 200%, which is about 7.5 inches tall. Finally, I was able to set my slicer settings to print at a higher resolution, and add tree supports.
Printing was no different from printing anything else. I switched from a black filament to a white one, and the original print has some streaks of black remaining. Once I print a second, larger statue, I plan to post-process it with some paint. The original print took somewhere around 12 hours to complete.
Reception
To quote:
"My number one action figure/toy/collectible that I've gotten this year."
