Generating a 3D map with OpenStreetMap and A-Frame
Over the weekend, I was able to work more on my Disney World wait time project that I began over at Translating OpenStreetMap data to HTML5 Canvas with Rust and WebAssembly. This project was last left in a state where I was pulling data from the Overpass API, processing it using Rust, and then using the generated coordinates to draw to an HTML5 canvas.

It's a proof-of-concept that I was really just using to see if I could (more or less) get accurate coordinates from OpenStreetMaps. However, the goal was never really to draw to a canvas. The goal is to draw the map in 3D.
Table of Contents
- Set up the 3D environment with A-Frame
- Creating a custom geometry component
- Generating custom geometries from OSM data
- Rust code updates
- Drawing the rest of the map
- Creating walkway lines
- Ongoing work
- Demo
Set up the 3D environment with A-Frame
As a reminder, I'm sort of freestyling right now with static files. I'm using http-server, globally installed, to serve my files. Eventually I'll probably migrate all of this into React or some other sort of framework/build system. But for now, this is freeform jazz, baby. I'm also jumping right into this from where I left off before.
First, I'm going to clean up index.html a bit. I'm going to take the script that I had previously written within the body of index.html and add it to js/script.mjs.
I'm also going to add three scripts to the head of index.html. One adds A-Frame to my project, the second adds a basic environment with aframe-environment-component, and the third adds orbit controls.
<script src="https://aframe.io/releases/1.5.0/aframe.min.js"></script>
<script src="https://unpkg.com/aframe-environment-component@1.3.3/dist/aframe-environment-component.min.js"></script>
<script src="https://unpkg.com/aframe-orbit-controls@1.3.2/dist/aframe-orbit-controls.min.js"></script>
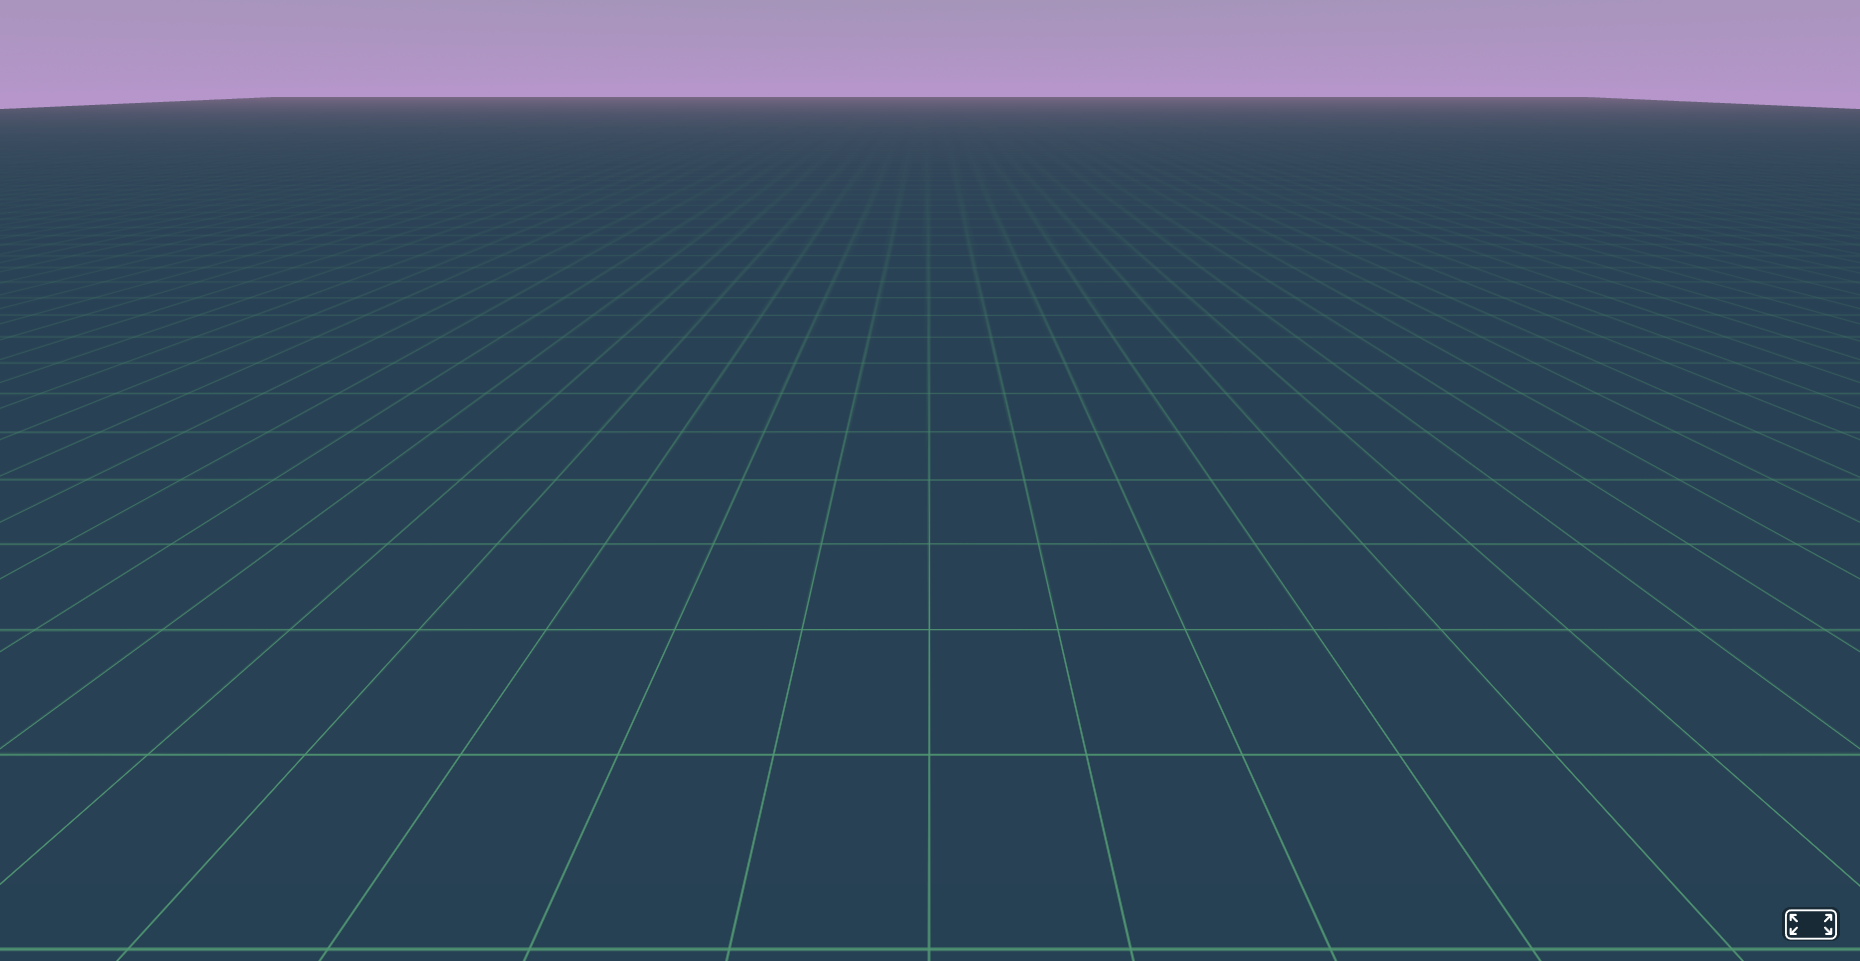
<script type="module" src="js/script.mjs"></script>Now, in the body of index.html, I'm going to add a basic scene that should orbit around the origin of the scene. For the environment preset, I'm going to use the "contact" setting, but remove the trees and create a completely flat ground. (Why? Because I think it looks cool.) I've also added orbit controls to the camera. I commented out <script type="module" src="js/script.mjs"></script> for now, the lack of a canvas will make that script error out.
<body>
    <a-scene environment="preset: contact; dressing: none; ground: flat; fog: 0.7">
        <a-camera look-controls="enabled: false" orbit-controls="target: 0 0 0; minDistance: 2; maxDistance: 180; initialPosition: 0 2 -5; rotateSpeed: 0.5; maxPolarAngle: 85"></a-camera>
    </a-scene>
</body>
This is a quick and easy way to create a basic scene and test that everything is working correctly.
Creating a custom geometry component
The next step is to create a component that will register a custom geometry in A-Frame. This geometry component will use the coordinates provided by the OSM conversion and create basic 3D shapes. Once the component is created, it'll be appended to the <a-scene>.
First, I'll create a new JavaScript file called geom.js and put that in the same js directory as script.mjs. This file will hold any custom A-Frame geometries that I want to create.
Creating a custom A-Frame geometry requires a good amount of knowledge of THREE.js. A-Frame is built with THREE.js as a base, allowing you to easily create immersive 3D scenes with basic geometries, but it's incredibly extensible by tapping into THREE.js's custom geometries.
Here's the full code for the custom component:
AFRAME.registerGeometry('map-item', {
  schema: {
    height: {default: 1},
    vertices: {
      default: ['-2 -2', '-2 0', '1 1', '2 0'],
    }
  },
  init: function(data) {
    const shape = new THREE.Shape();
    // A THREE.Shape is created by drawing lines between vertices.
    for (let i = 0; i < data.vertices.length; i++) {
      let vertex = data.vertices[i];
      let [x, y] = vertex.split(' ').map(val => parseFloat(val));
      if (i === 0) {
        shape.moveTo(x, y);
      } else {
        shape.lineTo(x, y);
      }
    }
    // Adding a very small bevel to the top of each geometry.
    const extrudeSettings = {
      steps: 2,
      depth: data.height,
      bevelEnabled: true,
      bevelThickness: 0.02,
      bevelSize: 0.01,
      bevelSegments: 8,
    };
    const geometry = new THREE.ExtrudeGeometry(shape, extrudeSettings);
    // Geometry needs to be rotated and translated to be in the right position
    geometry.rotateX(Math.PI / 2);
    geometry.translate(0, data.height, 0);
    geometry.computeBoundingBox();
    this.geometry = geometry;
  }
});
A-Frame requires a schema and init function to register a component. There are other lifecycle methods, but because I'm not animating or updating the geometry, I should be able to get by with just using init.
For the schema, I want to be able to set the height of the geometry and the vertices from the <a-entity> properties. I've added some default vertices as a test.
In the init function, I'm initializing a new THREE.Shape. For each of the vertices, I can't pass a two-dimensional array in A-Frame, so I'll pass the vertices as "x y", splitting them by the space. I'm iterating over each vertex and updating the shape. Once the shape is complete, I set extrude settings for the Extrude Geometry. The height will be dictated by whatever height I pass in for the map type.
Finally, I create a new Extrude Geometry by passing in the shape and extrude settings. Then, I'm rotating the geometry by 90 degrees on the X axis and translating it up by the amount of its height. This gets the geometry in the right position. Finally, I'm going to compute the bounding box (I might need that later, I'm not sure) and set the geometry to this.geometry.
This should be enough to generate a basic shape and extrude it. I'm going to write some temporary JavaScript below the new component that will generate and append a new element to the scene.
const scene = document.querySelector('a-scene');
let mapItem = document.createElement('a-entity');
mapItem.setAttribute('geometry', {
  primitive: 'map-item'
});
mapItem.setAttribute('material', {
  color: '#bada55'
});
scene.appendChild(mapItem);
I'm using the default vertices and height and adding a second attribute as a material.
I'll add the script to index.html with the defer attribute. That way, the script won't be executed until after the document is parsed. Otherwise, a-scene isn't available to the script.
<script defer src="js/geom.js"></script>After testing this script, I can remove the defer as long as I don't try to manipulate the DOM in geom.js, which I don't plan to do. This is the result of the new geometry component:

Generating custom geometries from OSM data
Now, I want to feed the vertices supplied by OSM to my custom geometry component to create map elements. First, I'm going to remove that test script from js/geom.js and remove the defer from it in index.html.
I'm removing all references to canvas in script.mjs, and instead querying for the <a-scene> element.
let scene = document.querySelector('a-scene');Then, I will create a function very similar to the code that I just deleted from geom.js.
function createGeometry(p, height, color) {
// WASM returns a 3-dimensional array. Map over each element, then the points.
for (let polygon of p) {
let vertices = polygon.map(point => {
let [x, y] = point;
return `${x} ${y}`; // Fix this in Rust to return 2D array.
});
// Create the element and append.
let mapItem = document.createElement('a-entity');
mapItem.setAttribute('geometry', {
primitive: 'map-item',
height,
vertices,
});
mapItem.setAttribute('material', {
color,
});
scene.appendChild(mapItem);
}
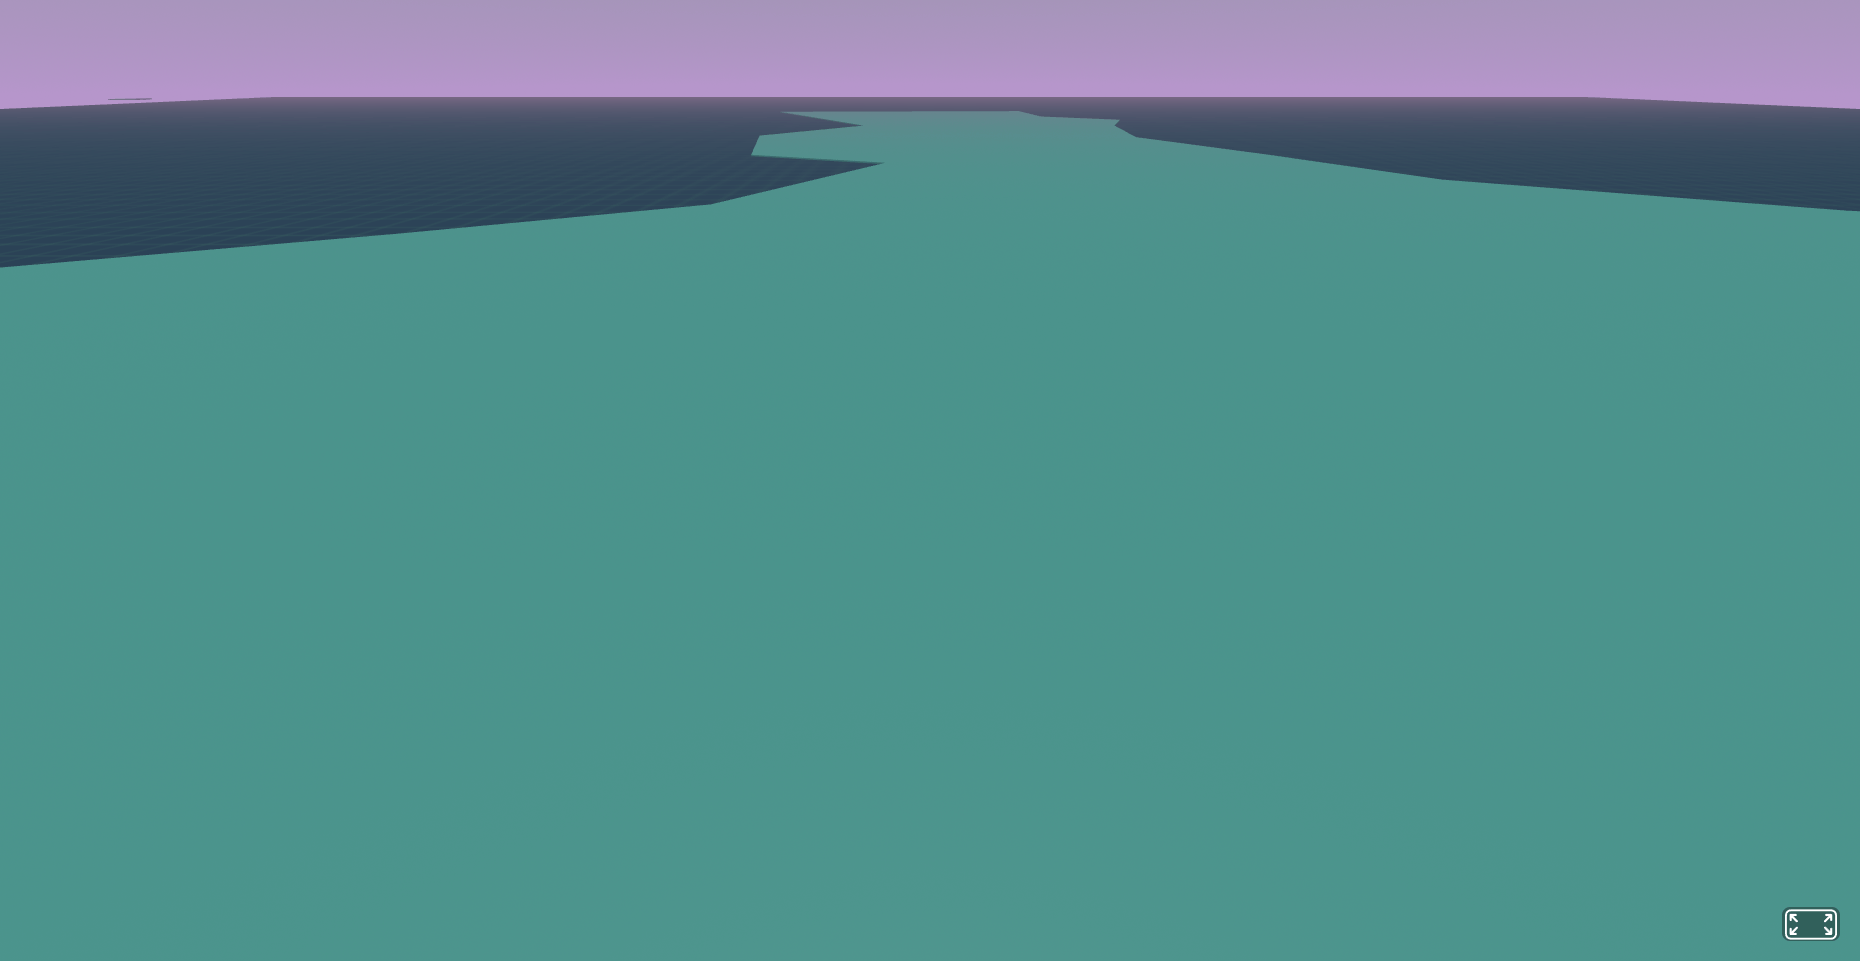
}I will comment out all the calls to drawPolygons() and instead add a function call to createGeometry() for the water elements.
createGeometry(water, 0.05, 'rgb(83,156,156)');Refreshing the page now displays a huge ocean of water. Scrolling out, it's larger than the A-Frame world. I'm going to update the Rust code to scale down the scene and to return a 2D array instead of a 3D array. There's no reason to do the conversion in JavaScript, just return data in the correct format the first time!
Rust code updates
All the Rust changes take place in the process_points function.
fn process_points(node: &osm::Node, bounds: &osm::Bounds, width: f64, height: f64) -> JsValue {
let y = map_points(node.lat, bounds.minlat, bounds.maxlat, -width / 2.0, width / 2.0) / 50.0;
let x = map_points(node.lon, bounds.minlon, bounds.maxlon, -height / 2.0, height / 2.0) / 50.0 * -1.0;
JsValue::from_str(&format!("{} {}", x, y))
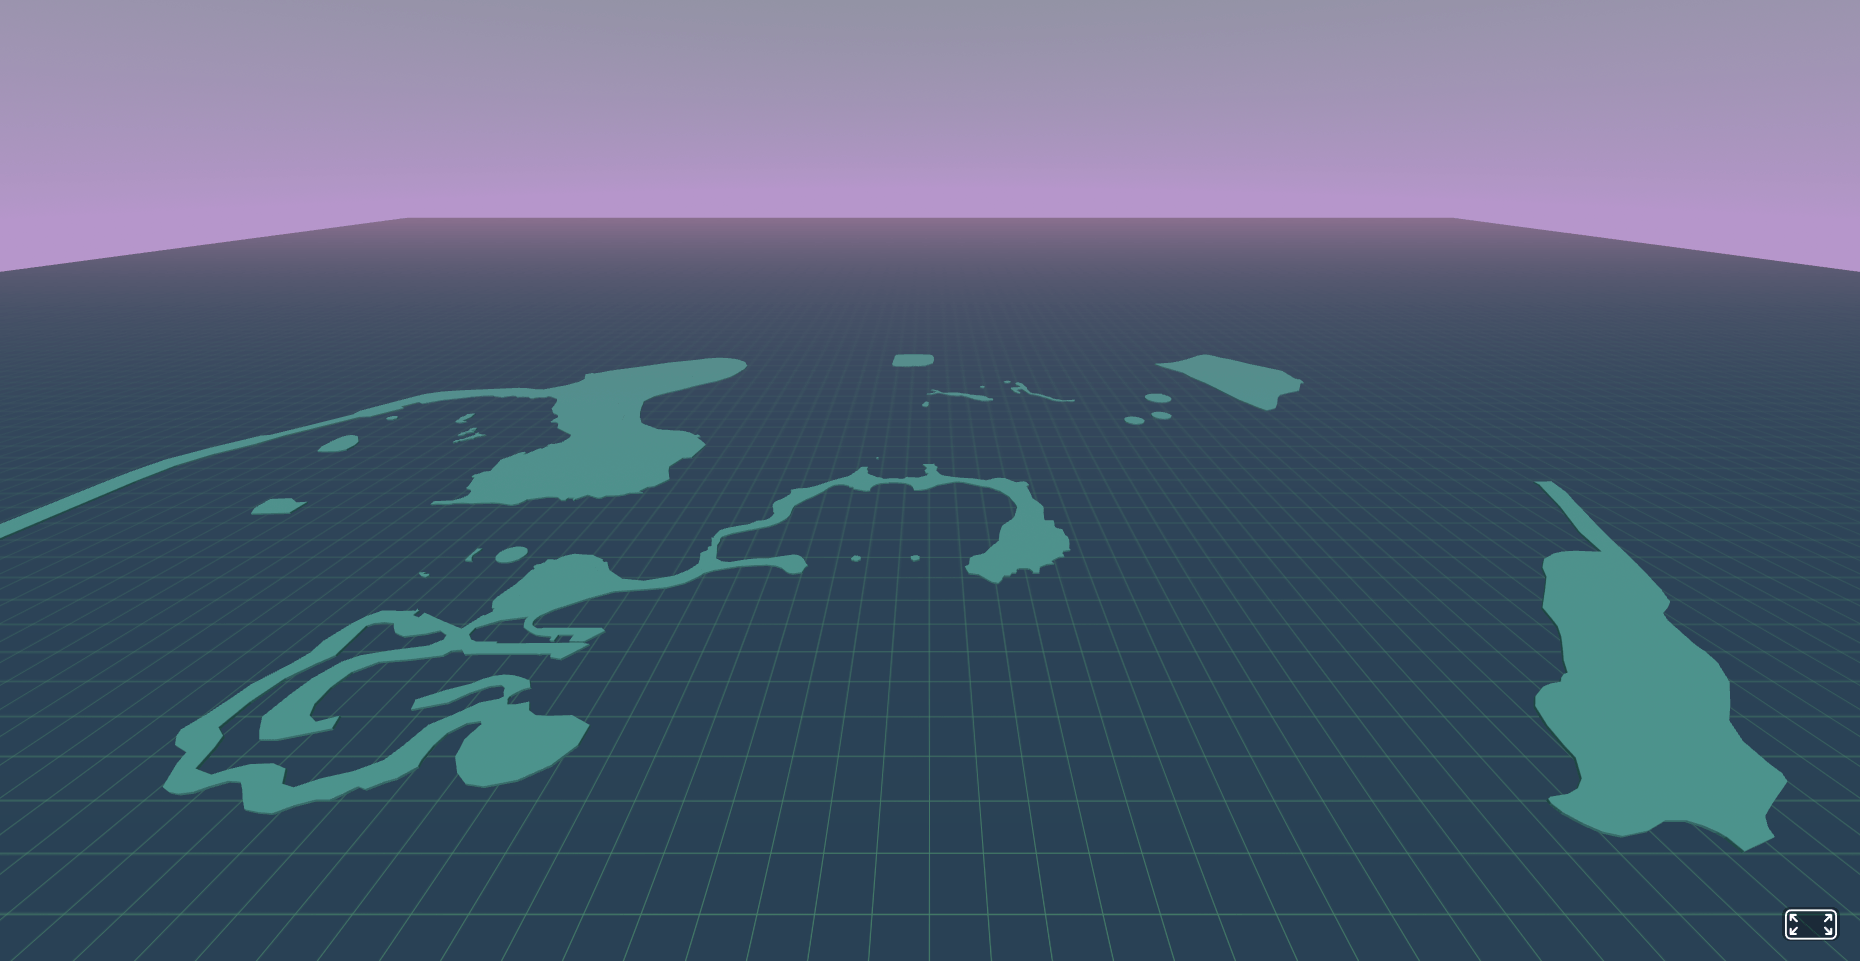
}I'm dividing both points calculations by 50 in order to scale the scene to a manageable size, and I'm also multiplying the x axis by -1, because my bad math is coming back to haunt me.
I've also updated the start2 and stop2 points for the map_points function to be from half the width/height in the negative direction to half the width/height in the positive direction. This is due to the fact that the HTML5 canvas considers the origin to be in the top left corner of the canvas, while A-Frame puts the origin in the middle of the scene.
I'm also returning a formatted 'x y' string from this function as well, as opposed to the array that it previously returned.
Finally, script.mjs is updated to remove that extra vertex parsing from createGeometry();
function createGeometry(p, height, color) {
  for (let vertices of p) {
    let mapItem = document.createElement('a-entity');
    mapItem.setAttribute('geometry', {
      primitive: 'map-item',
      height,
      vertices,
    });
    mapItem.setAttribute('material', {
      color,
    });
    scene.appendChild(mapItem);
  }
}
I'm also going to update the camera element to initialPosition: 0 10 -20, just so I can get more of the map in view.
Drawing the rest of the map
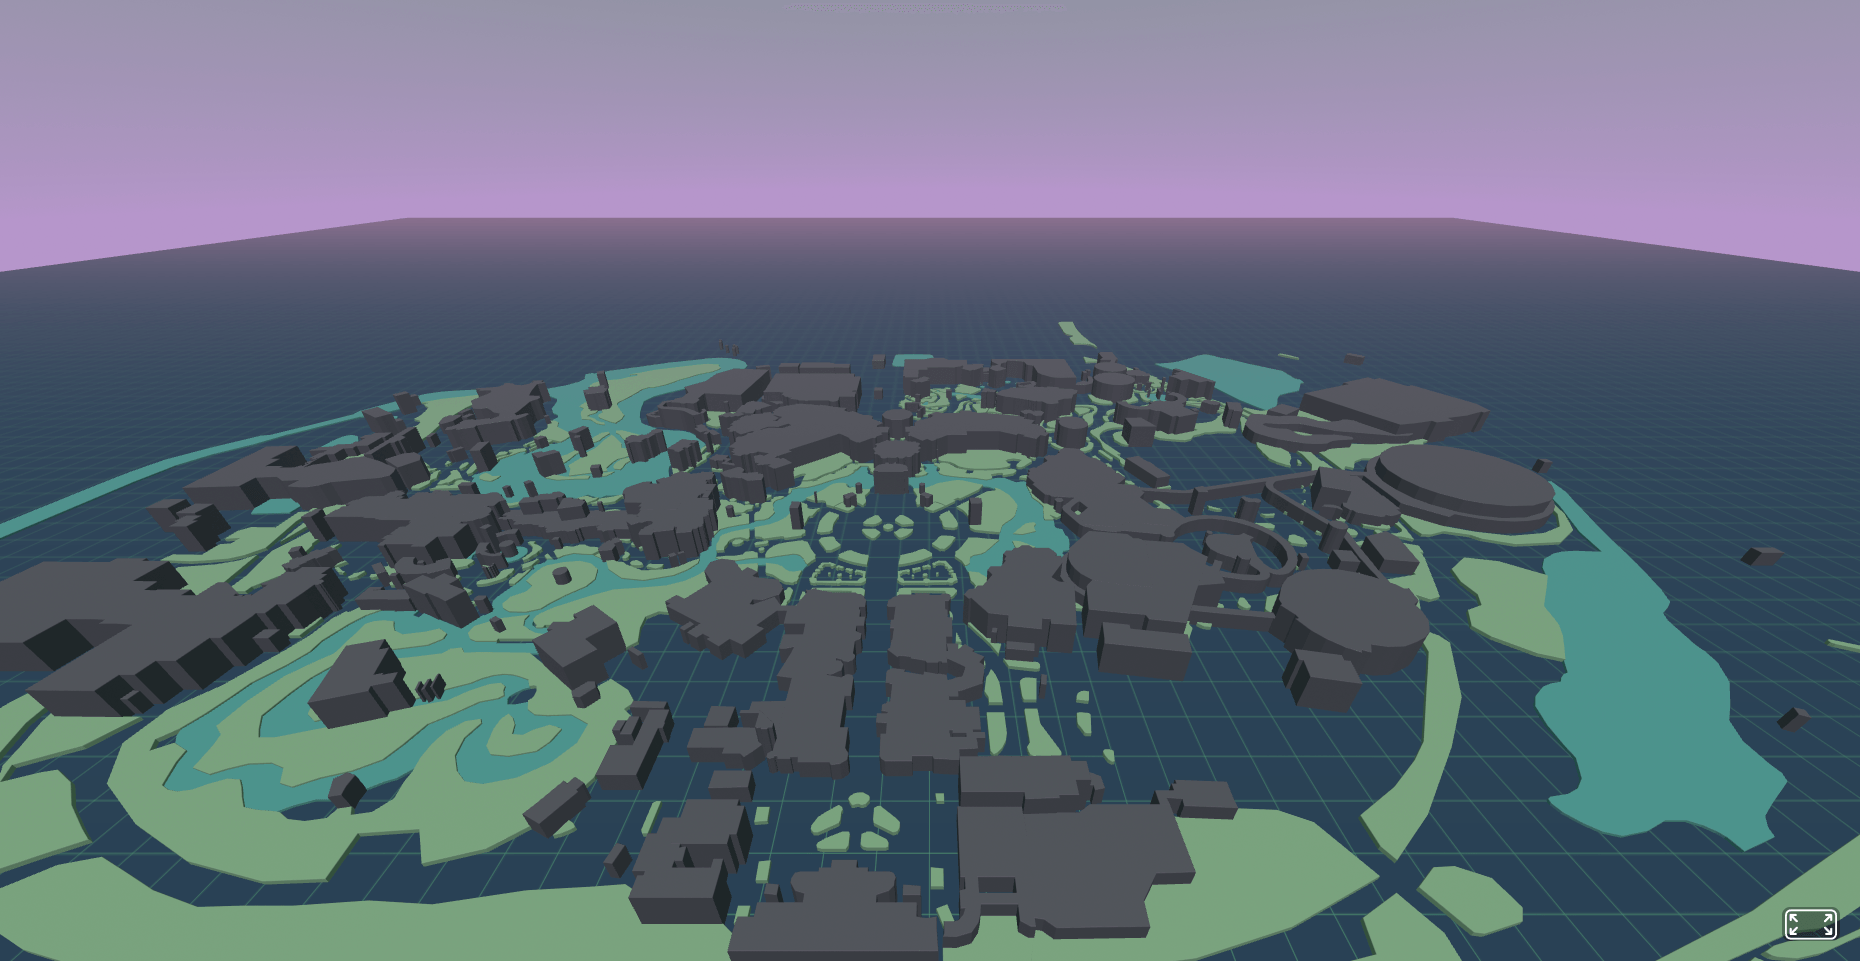
Creating the rest of the map geometry is as easy as converting drawPolygons() function calls to createGeometry().
createGeometry(water, 0.05, 'rgb(83,156,156)');
createGeometry(gardens, 0.1, 'rgb(136,172,140)');
createGeometry(buildings, 0.5, 'rgb(88,87,98)');
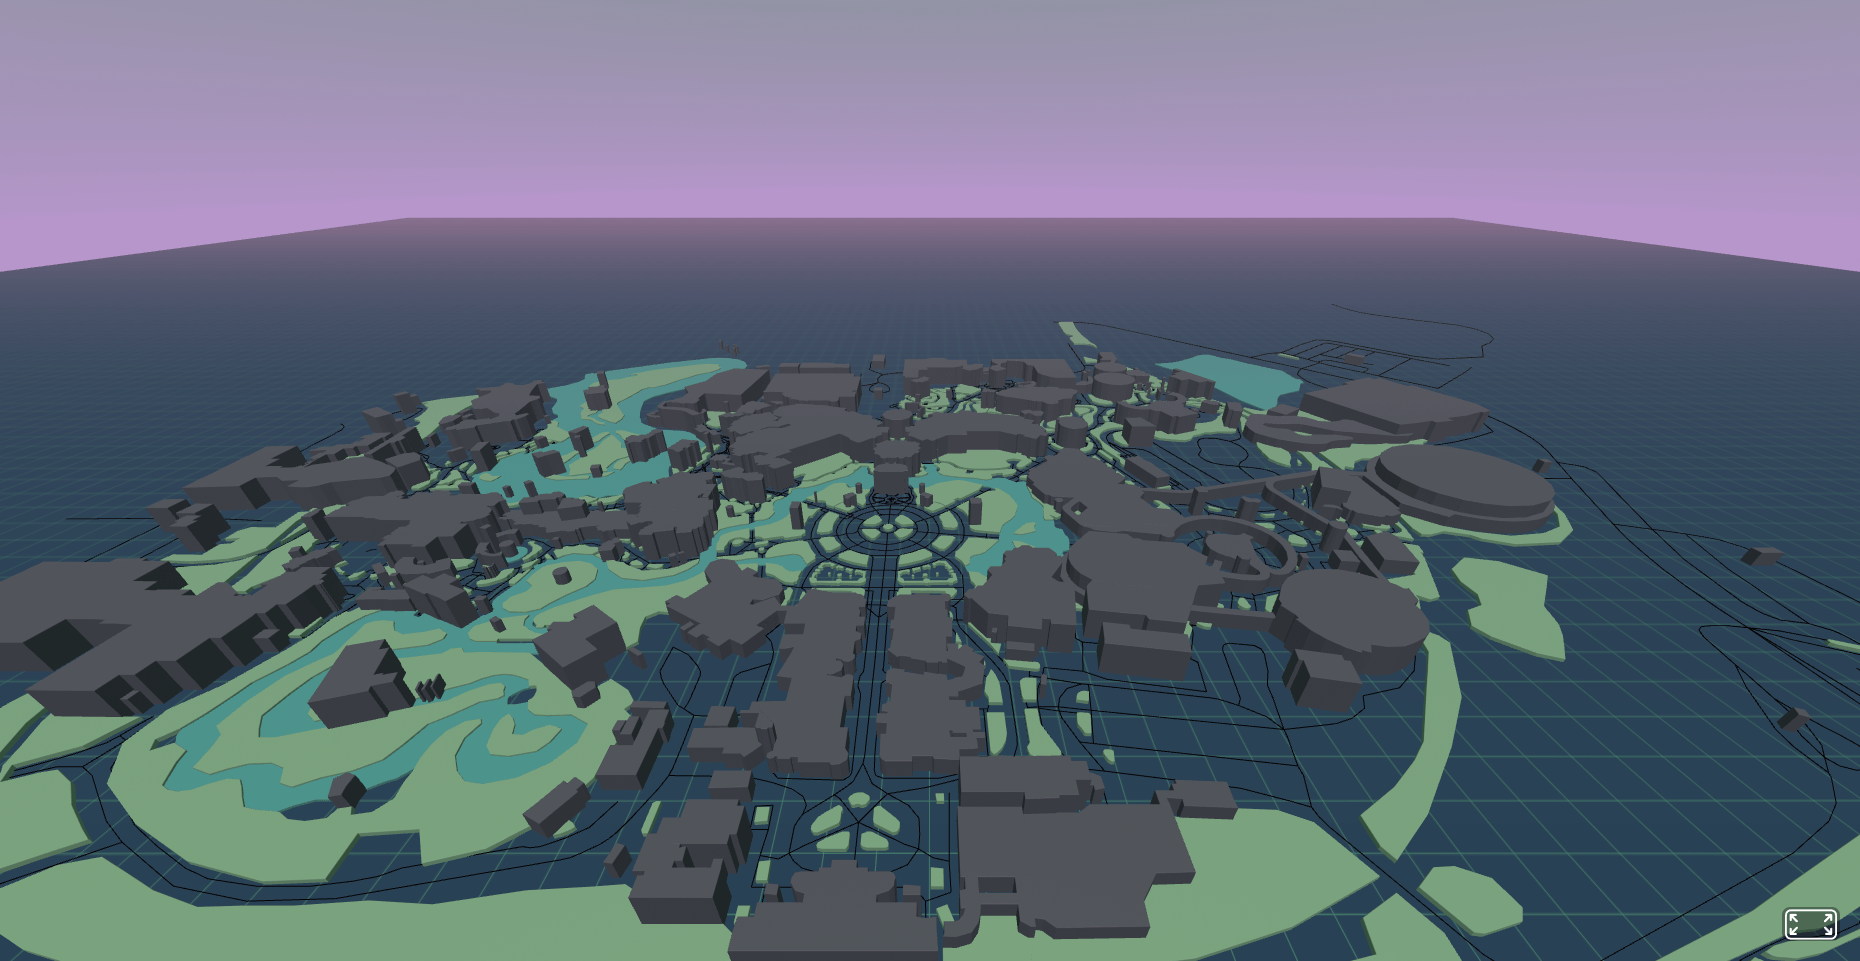
createGeometry(named_buildings, 1.0, 'rgb(88,87,98)');Buildings are now the same color but I've made the "named buildings" (which should mostly be rides and attractions) twice as tall. I plan to tweak the building heights as I go along.
Here's an initial look down the center of Main Street, USA towards Cinderella Castle (which obviously does not look like a castle).
Creating walkway lines
To add the lines for walkway areas, I've decided to skip creating a new A-Frame geometry component. Instead, I'm going to add a THREE.Line directly to the scene. I figure that since the walkway won't have any interactivity, it makes more sense to just add it directly. I may end up taking the walkway lines out altogether (or have a toggle to display them).
function createLineGeometry(p) {
  for (let vertices of p) {
    const points = vertices.map(point => {
      let [x, y] = point.split(' ').map(val => parseFloat(val));
      return new THREE.Vector3(x, 0.01, y);
    });
    const geometry = new THREE.BufferGeometry().setFromPoints(points);
    const line = new THREE.Line(geometry, new THREE.LineBasicMaterial({color: 0x000000}));
    scene.object3D.add(line);
  }
}
This function is constructed similarly to the earlier component, but instead of creating a shape, I'm creating a THREE.Vector3 with the y-axis just slightly above 0. Then, the THREE.BufferGeometry is set from the array of vectors, which is then used to build the line. The THREE.js documentation has an entire page dedicated to drawing lines.
An important note is that the line is added to scene.object3D. This is the proper way to access the THREE.js scene from A-Frame.
Ongoing work
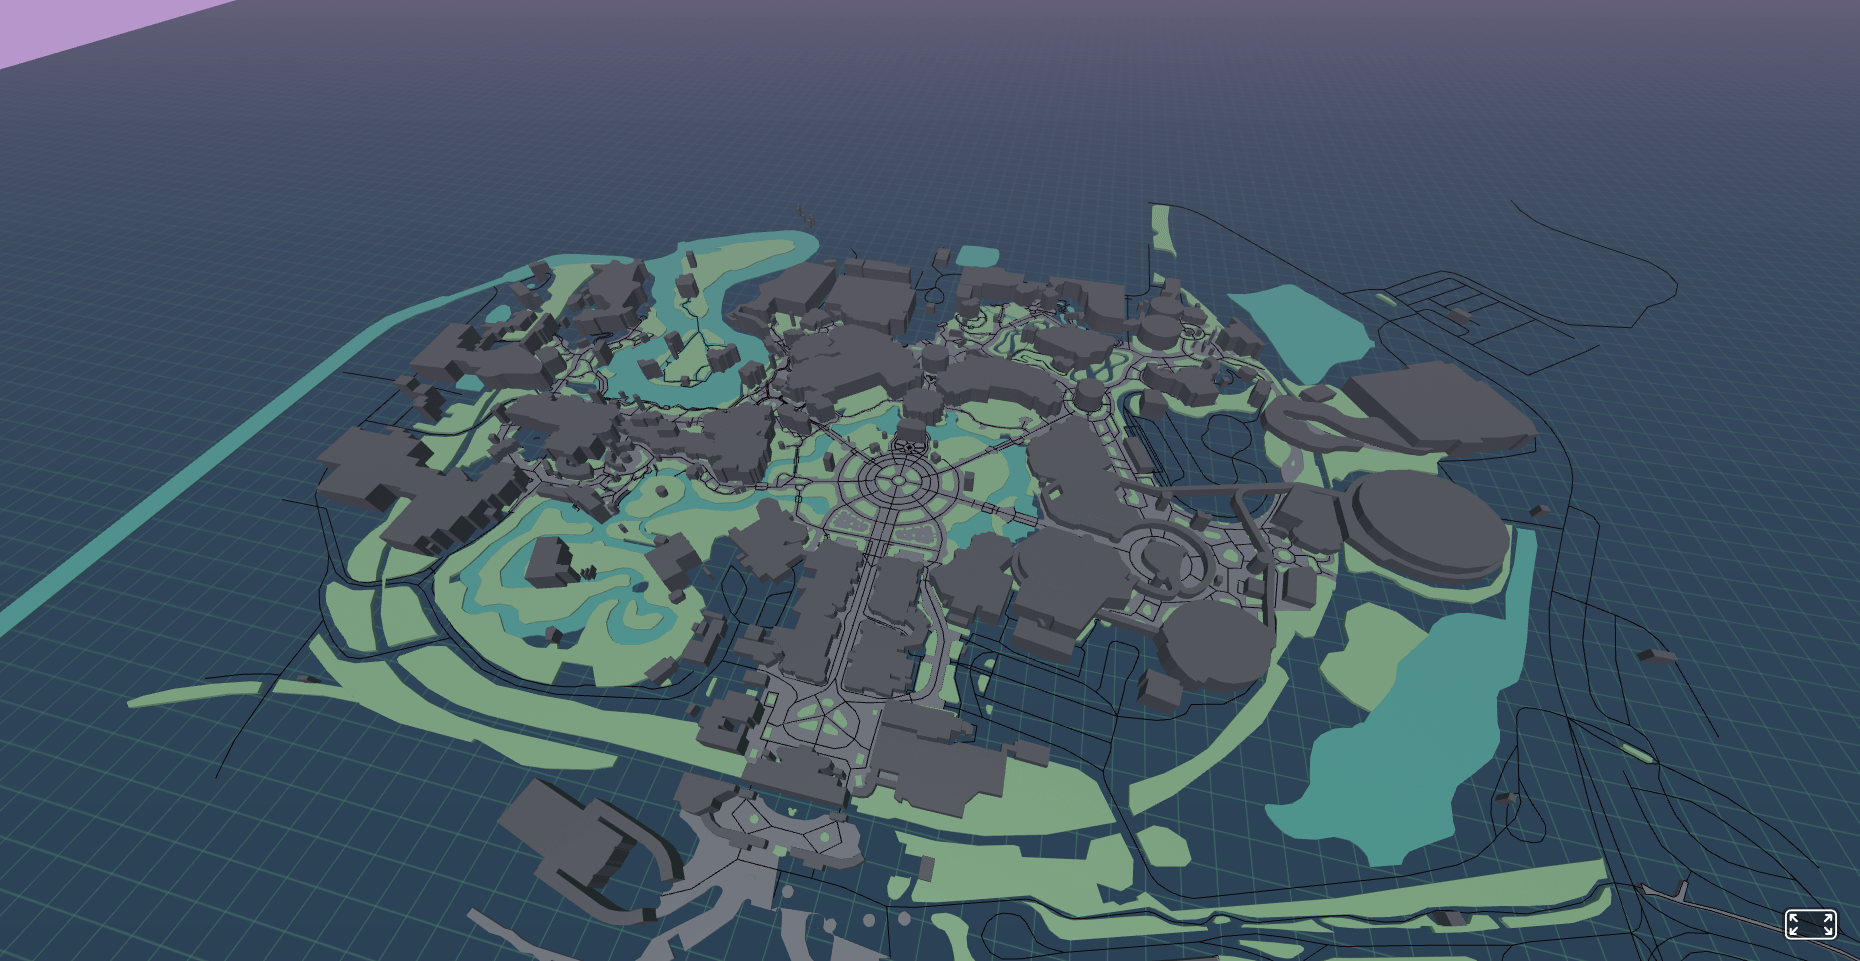
I'm still working on adding more features and detail to the 3D map by querying more features. I'm also looking into some problems when it comes to adding sidewalks/walkways. In some cases, relations are made of many different tiny ways, that are then stitched together to form the outline of an area. My geometry component doesn't like that very much. So, I'm working on that and other optimizations to make the map look great before adding wait times.
Demo
Click and hold to rotate, mouse wheel to zoom.