How I blog from my phone using Termux
Once upon a time, I had a Raspberry Pi 400 that was running Home Assistant. While it worked relatively well, I kept encountering problems after losing power. I also felt like I wasn't using the system to its fullest. I was basically wasting the built-in keyboard by keeping it tucked away in a corner.
Within the past week, I wiped the Pi, made a bootable external hard drive, and cloned my blog from GitHub. Now, I have a portable system with a keyboard that I can use to quickly spin up a blog post. It's always on, and as long as there aren't any critical errors or power loss, it's always in gatsby develop mode.
It's great for blogging from my desk, but I can also remote in with my phone or Chromebook, in case I want to blog something quickly on-the-go (like my mini-rant about Dreamlight Valley).
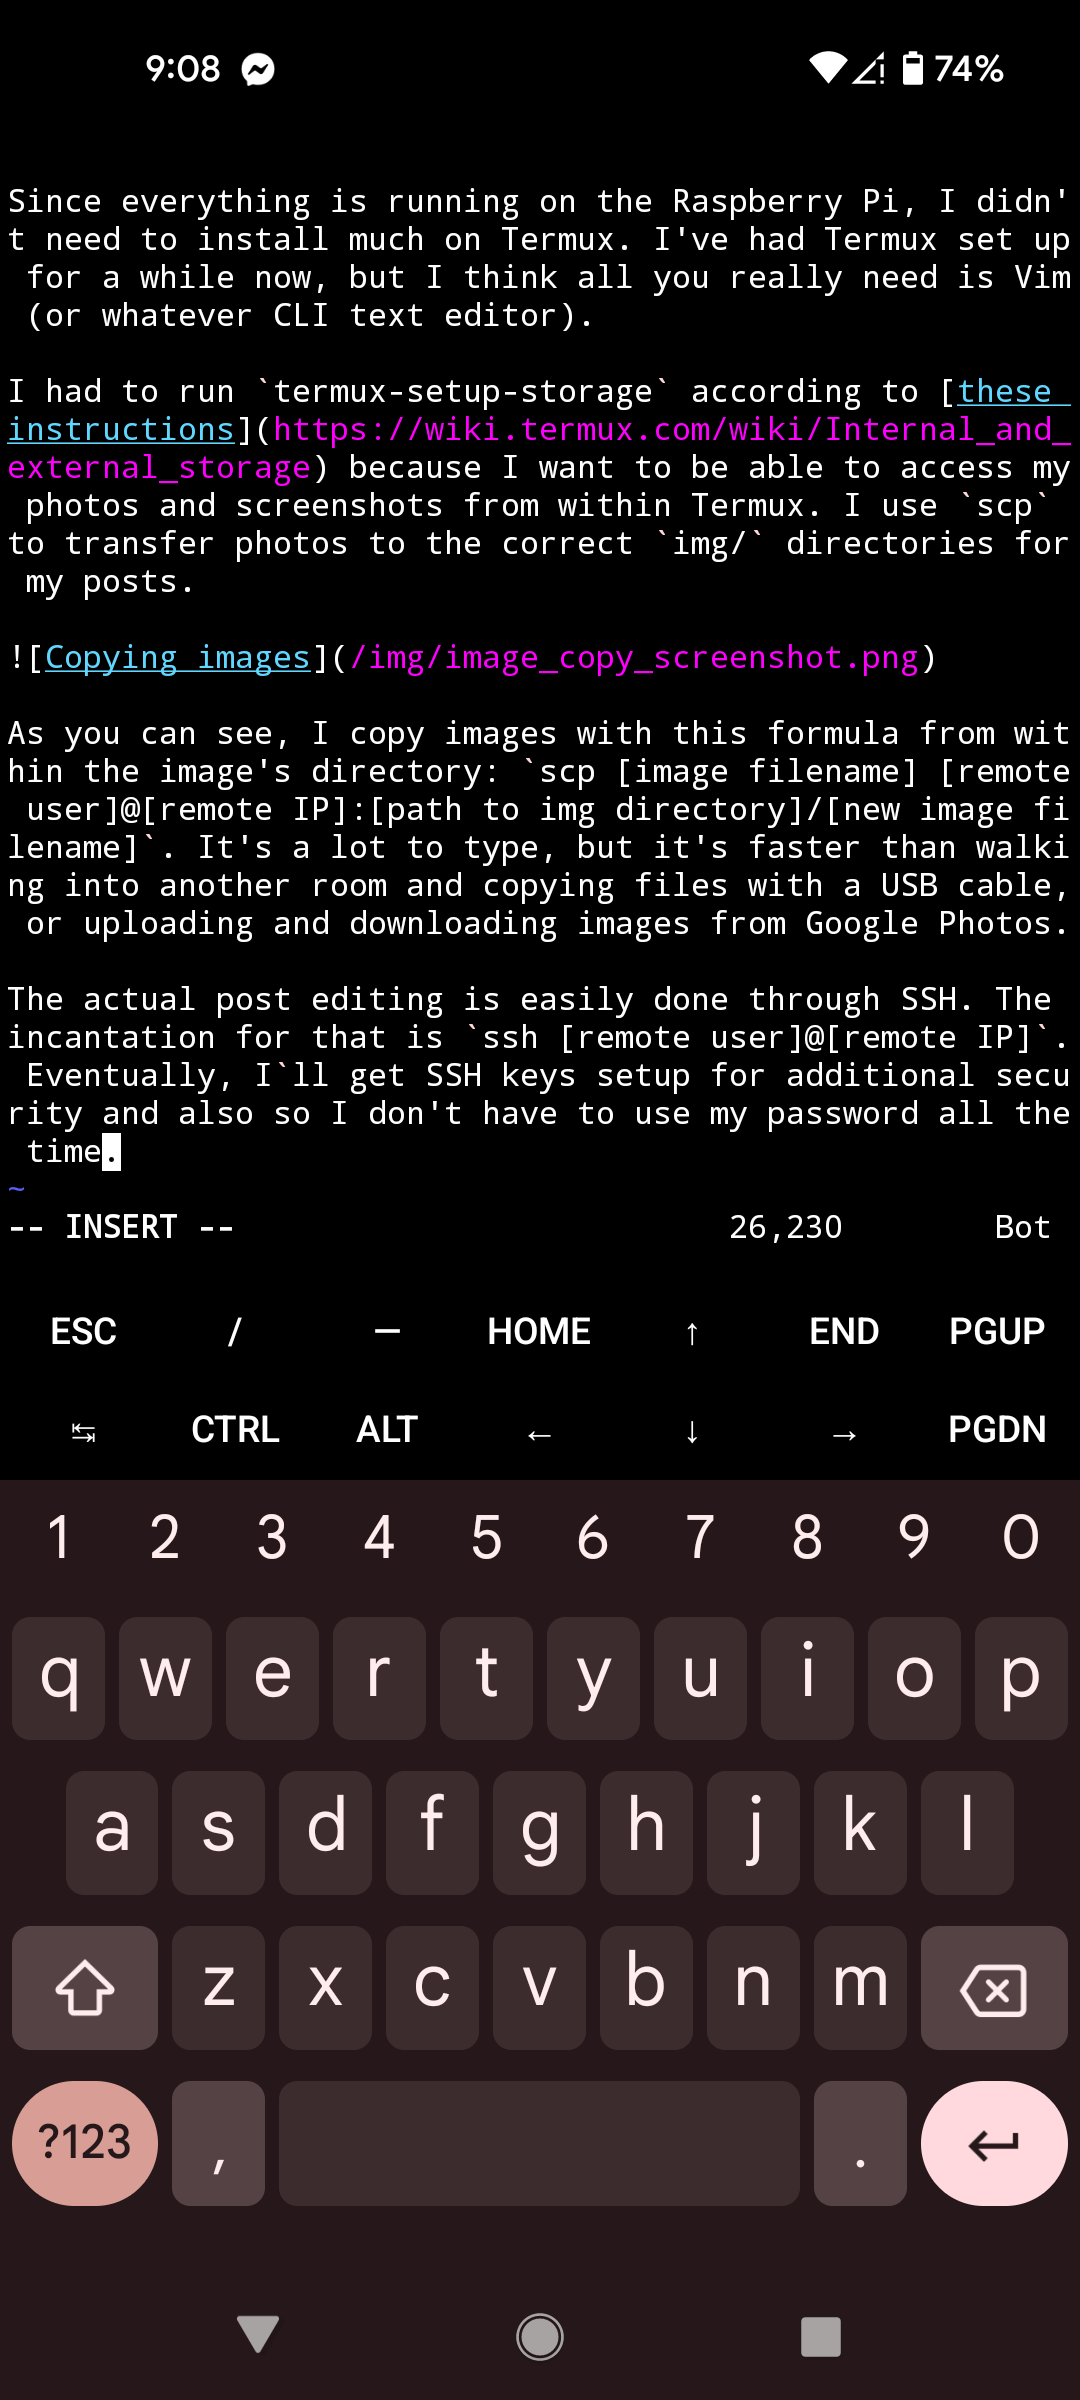
Since everything is running on the Raspberry Pi, I didn't need to install much on Termux. I've had Termux set up for a while now, but I think all you really need is Vim (or whatever CLI text editor you like).
I had to run termux-setup-storage according to these instructions because I want to be able to access my photos and screenshots from within Termux. I use scp to transfer photos to the correct img/ directories for my posts.
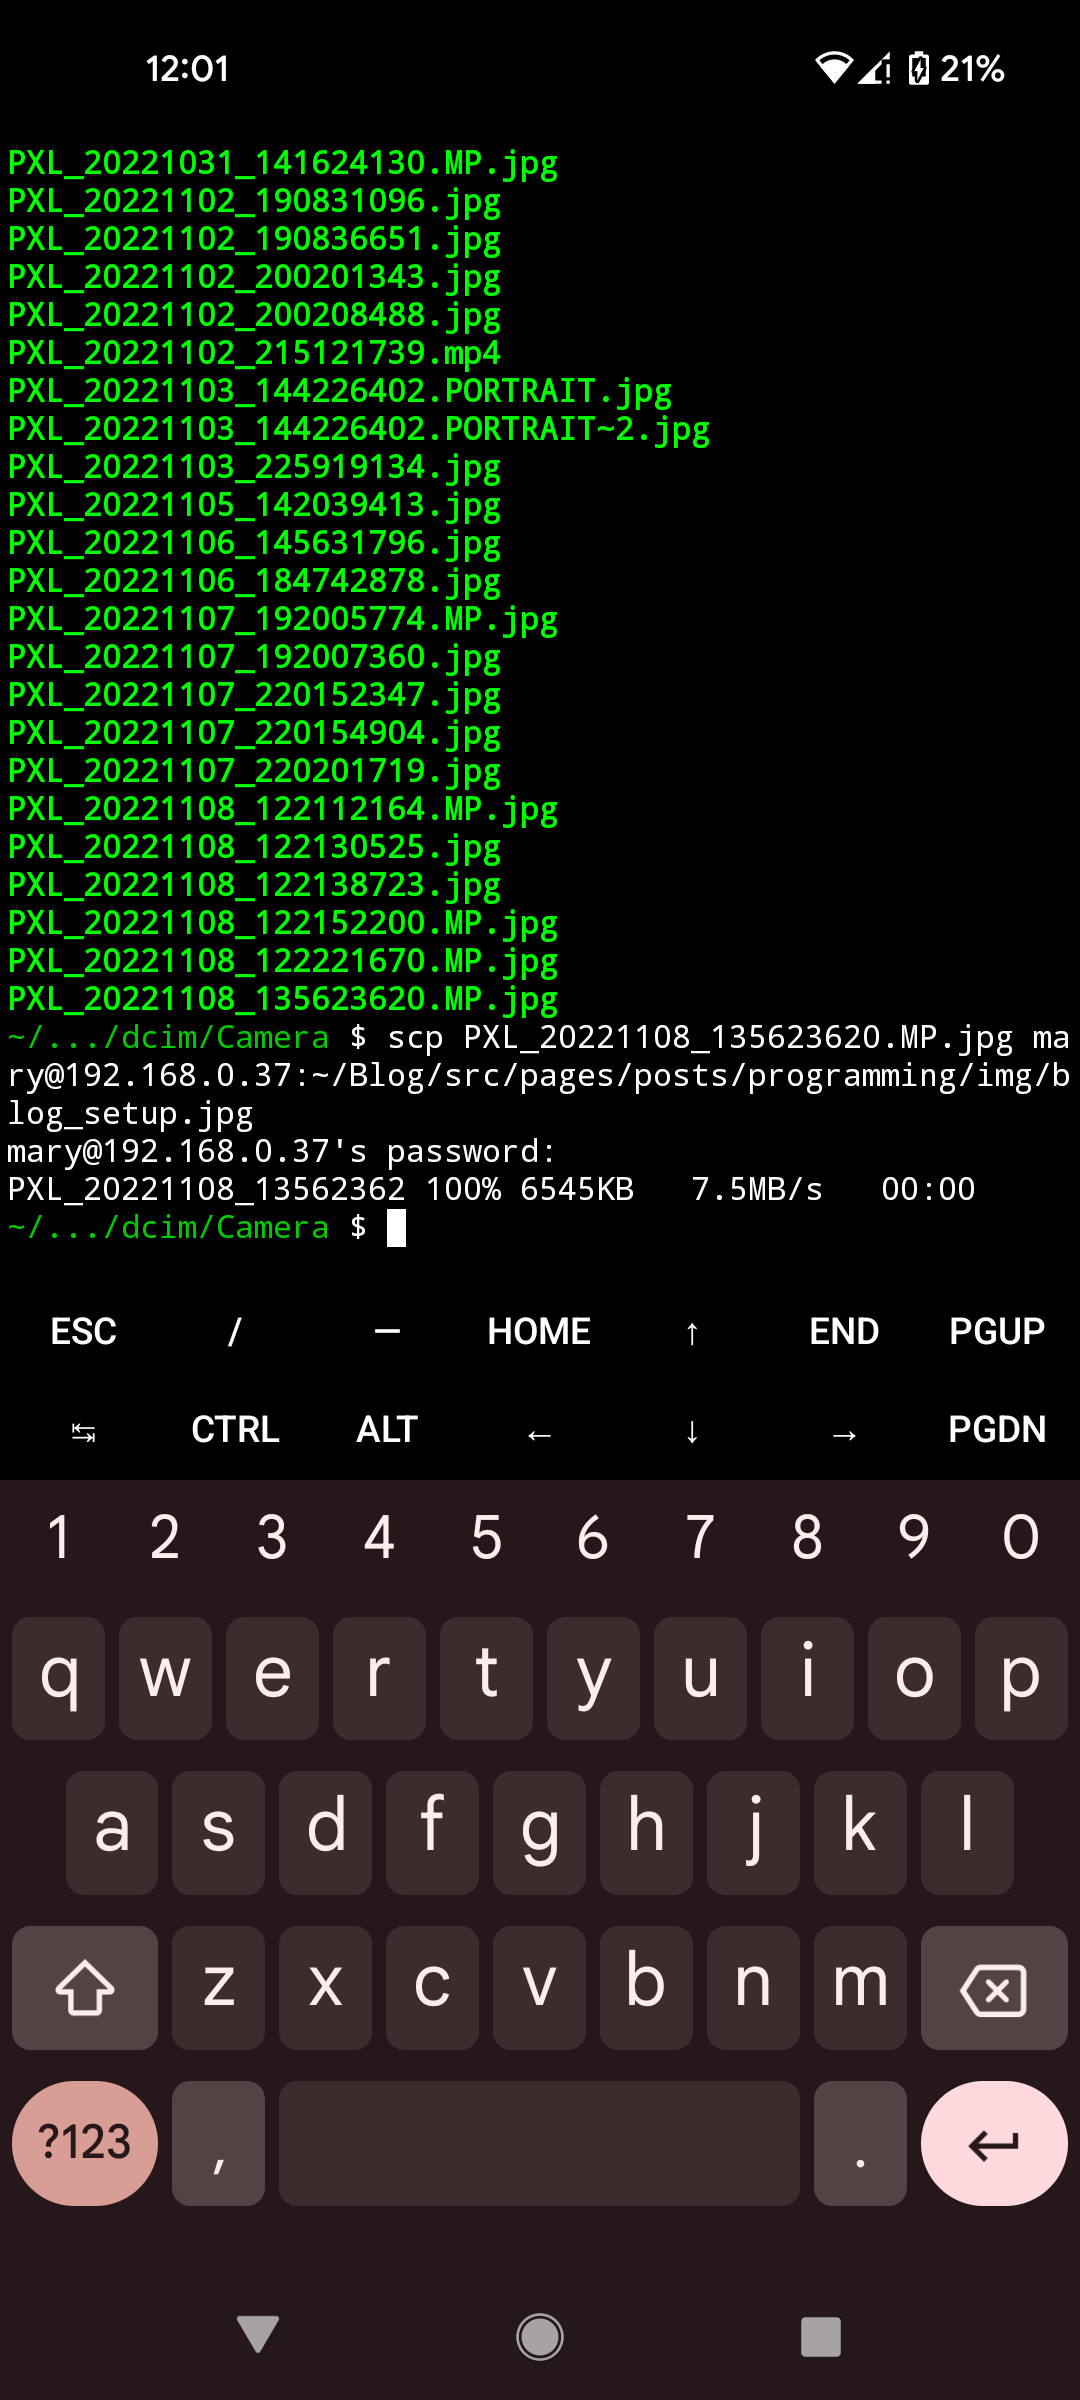
As you can see, I copy images with this formula from within the image's directory: scp [image filename] [remote user]@[remote IP]:[path to img directory]/[new image filename]. It's a lot to type, but it's faster than walking into another room and copying files with a USB cable, or uploading and downloading images from Google Photos.
The actual post editing is easily done through SSH. The incantation for that is ssh [remote user]@[remote IP]. Eventually, I`ll get SSH keys setup for additional security and so I don't have to use my password all the time.
Using Vim with Termux is definitely not the ideal writing experience. There's no autocomplete and typing on the phone keyboard is a pain. However, it does allow me to touch the screen wherever I want to put the cursor, so I can use that in addition to the Vim movement keys, which speeds up editing.
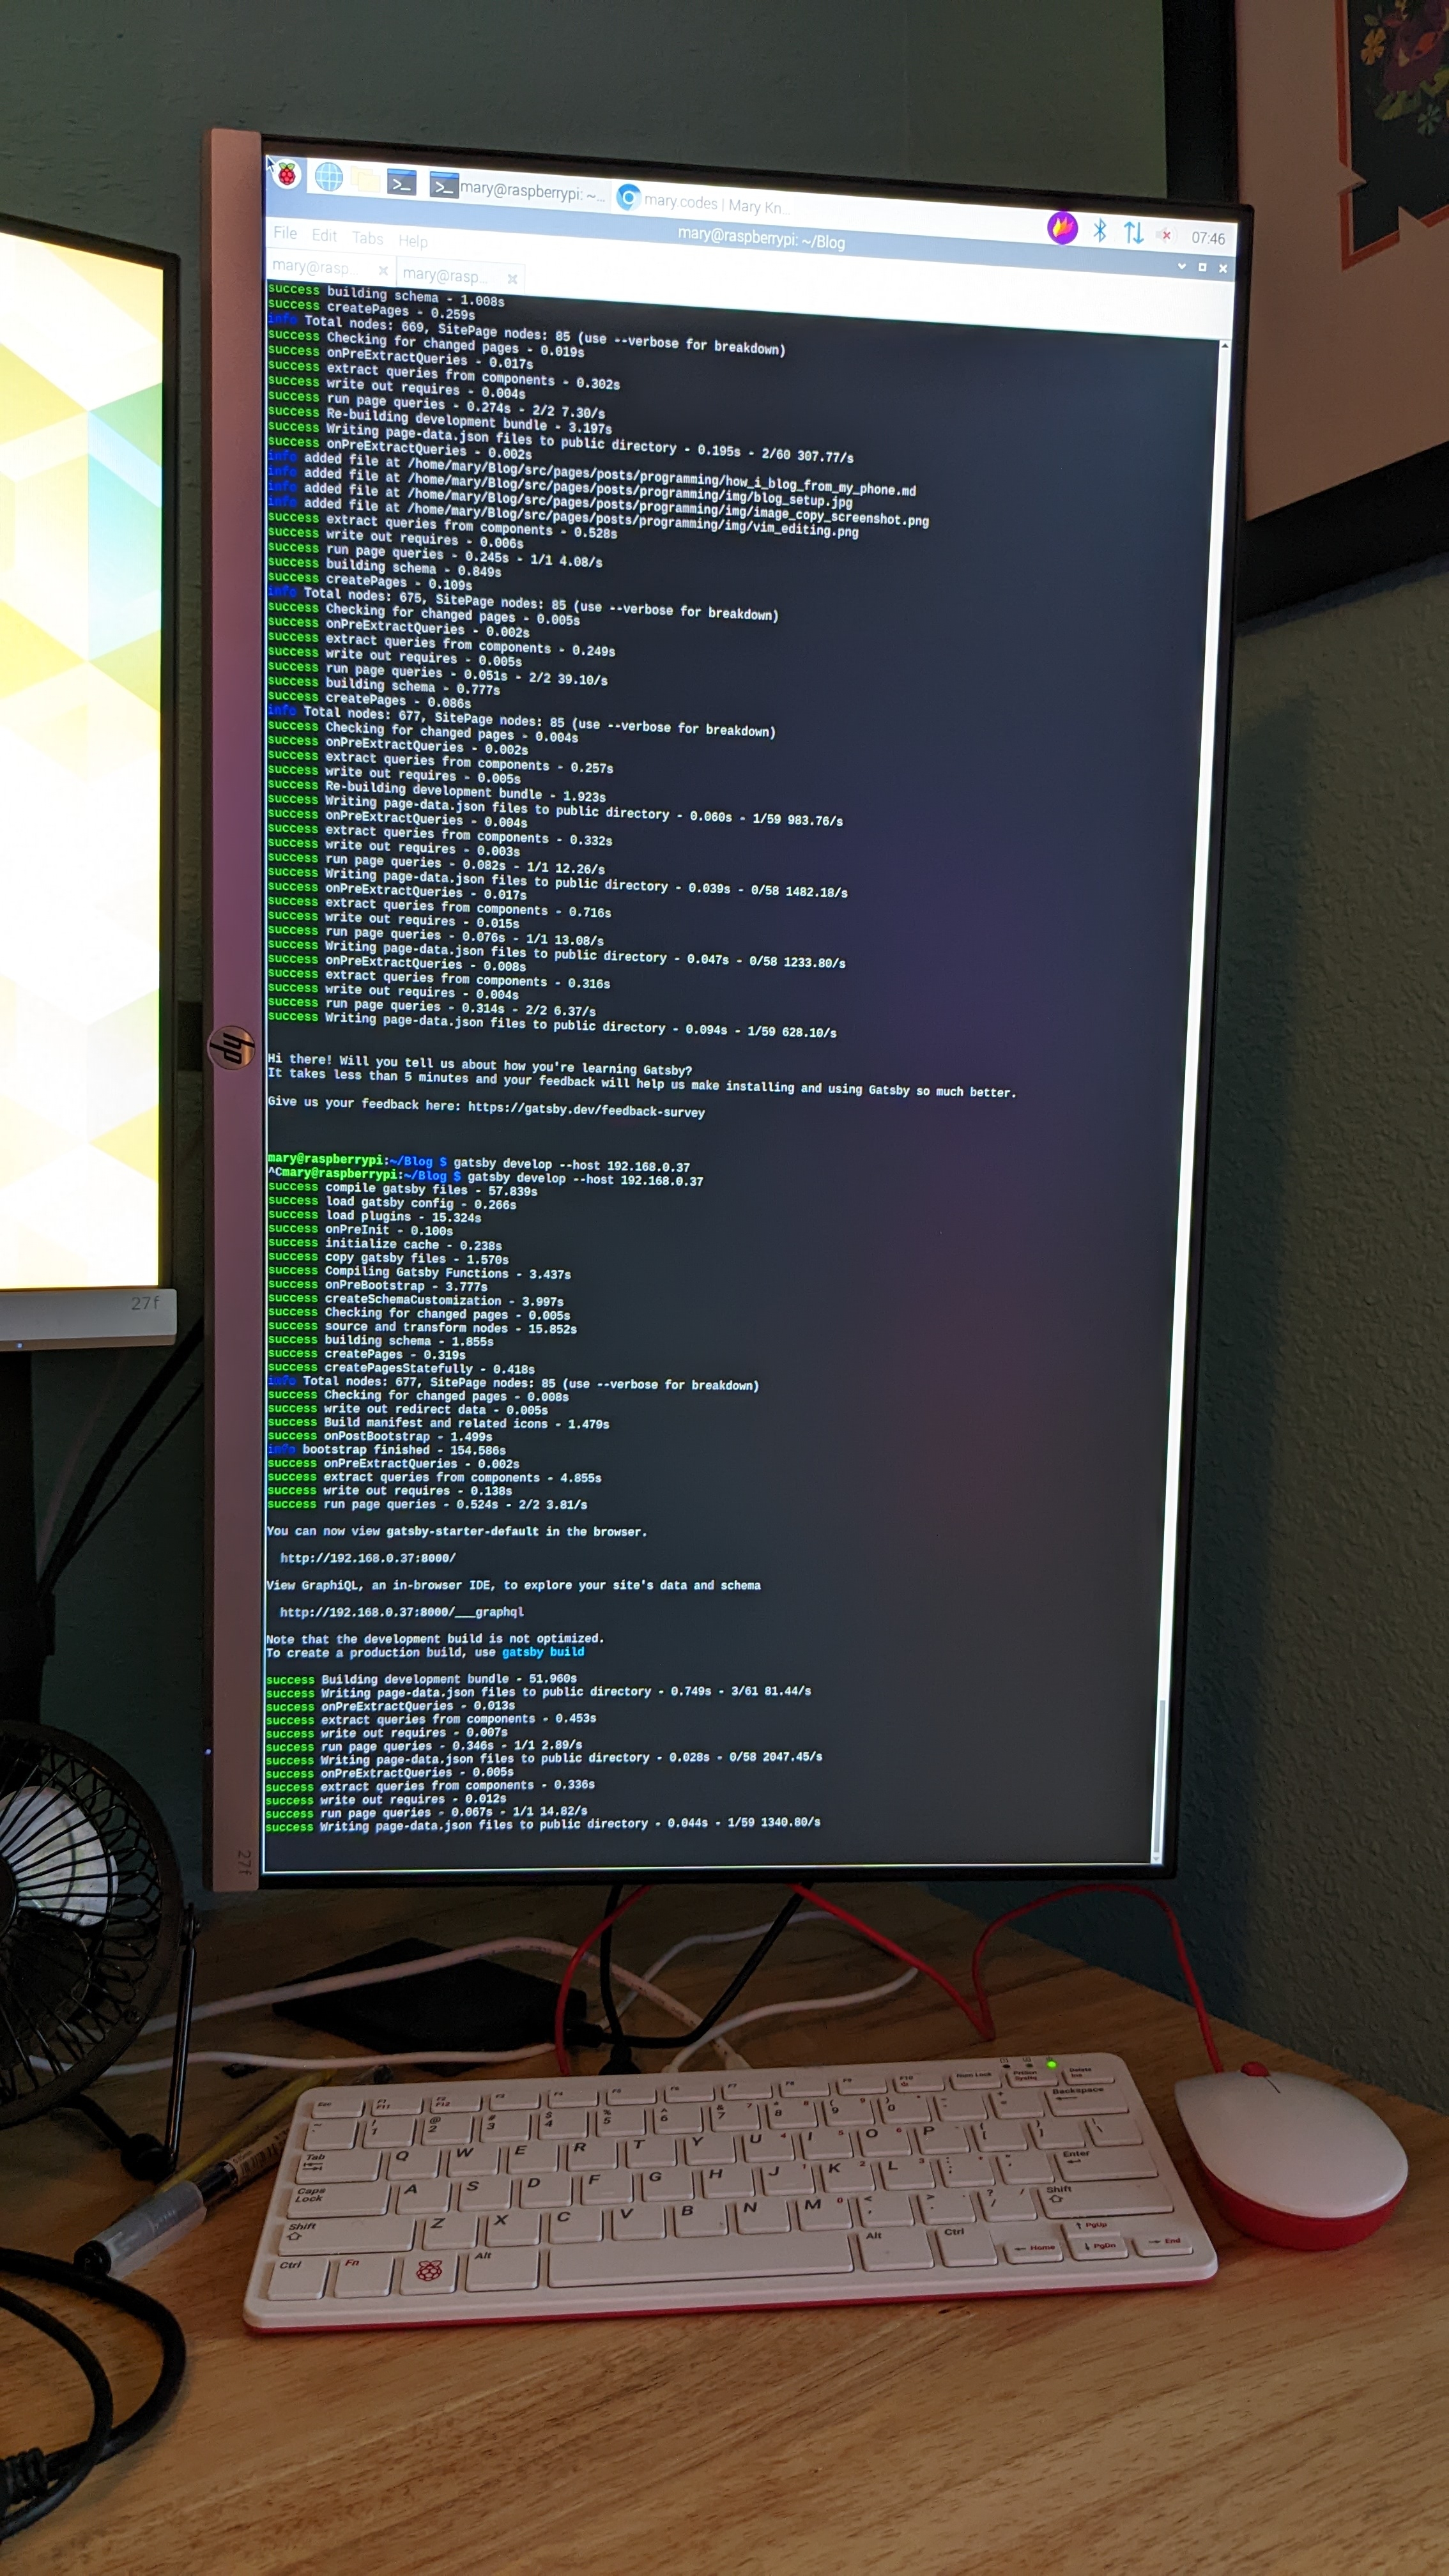
The trick to previewing my changes is to have Gatsby running in develop mode with the host machine's IP specified as the host instead of localhost. In this case, I've run gatsby develop --host 192.168.0.37 on the Raspberry Pi, and I can now visit 192.168.0.37:8000 on any device connected to my network to preview my site. It's also a great way to see how things look on a variety of devices.
Once I'm finished, I can simply commit my changes with git and push them to GitHub, and Gatsby Cloud does the rest!